Google Application Registration
About application registrations
Before an application can use OAuth to access a user's account, the application must be registered with the service provider (Google, Microsoft, etc.). The registration identifies the application to the provider: the provider assigns it a client ID, which identifies the application, and usually a client secret, which the application uses to prove its identity when it requests access tokens. The registration also defines the name and other information shown to users when they are asked to grant the application access to their account.
When you authorize adTempus to access an account, you are granting access to the application identified by the registration. The access tokens the provider issues can be used only by that application, which is why you must authorize again if you change the application registration used by a mail server or cloud storage provider.
Because adTempus is installed locally (i.e., it is not a cloud-based or SAAS application), the access tokens remain on your systems and other adTempus installations (and Arcana Development) cannot access your accounts.
Public and private registrations
Application registrations fall into two general categories:
- Public registrations are created by a software vendor for use by all of its customers. adTempus has its own public application registration, which you can use to authorize adTempus without registering anything yourself. However, this application registration may appear as "Unverified" and may require approval from your Google Workspace administrator.
- Private registrations are created by an organization (or individual) for its own use. Only the accounts you choose use the registration, and you control its settings and the permissions it is allowed to request. You can use a private registration with any provider that adTempus supports, by specifying its client ID and secret in the OAuth Configuration (mail servers) or App Registration (cloud storage) window.
Google private application registration
OAuth authentication and access are based on permissions, called scopes, with each application ideally being granted the minimum permissions required to perform its tasks. For Google, the scopes required by adTempus for email and file access are classified as "Sensitive" or "Restricted" scopes.
Google requires a public application that requests these scopes to go through a verification process. These requirements are relaxed for a private registration, because it is used only by your own accounts:
- If you use Google Workspace, you can set the registration's user type to Internal. Only users in your organization can authorize the application, and verification is not required.
- If you use personal Gmail accounts (or cannot use the Internal user type), set the user type to External. While the application's publishing status is Testing, only the test users you list can authorize it, and Google expires its refresh tokens after 7 days, after which you must authorize again. To avoid this, change the publishing status to In production. You do not need to submit the application for verification for your own use, but Google will display a warning that the application has not been verified when you authorize it, and limits the number of users who can authorize an unverified application.
Application registration instructions
You create the registration in the Google Cloud Console, using a Google account that belongs to your organization. If you use Google Workspace, you may need a Workspace administrator to create the project or to approve the application.
Google updates the Cloud Console periodically, so the names of pages and options may differ slightly from those shown here.
Step 1: Create a project
- Sign in to the Google Cloud Console at https://console.cloud.google.com/.
- Open the project selector at the top of the page and click New Project.
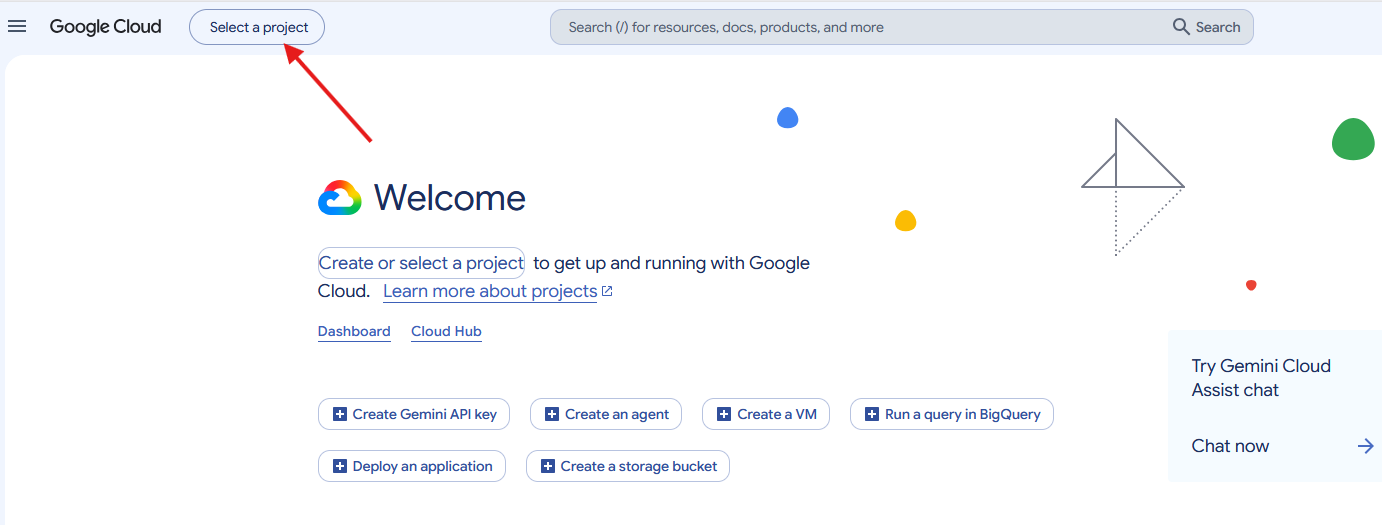
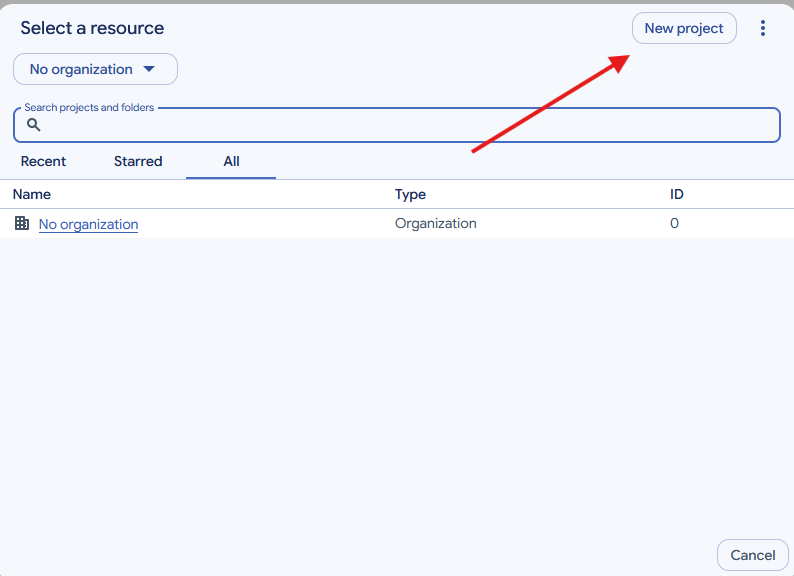
- Enter a name for the project (for example, "adTempus Mail") and click Create.
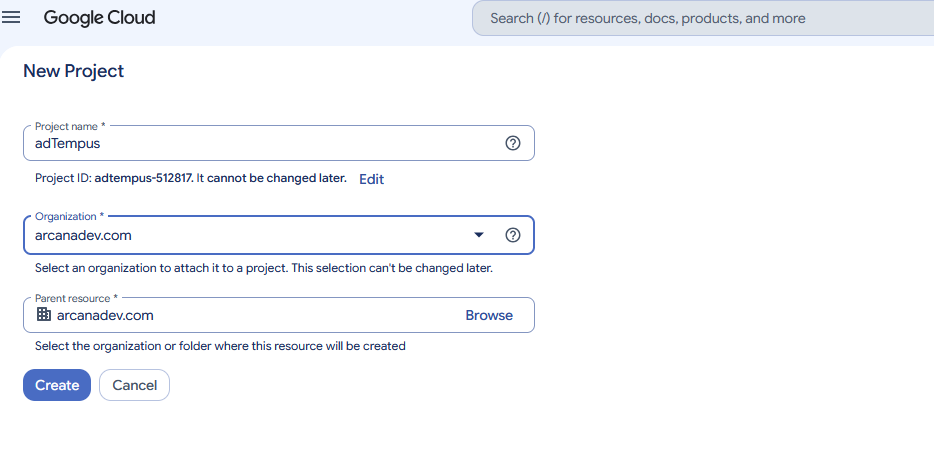
- Make sure the new project is selected before you continue.
Step 2: Enable the APIs
This step is required only for file access. Go to APIs & Services > Library
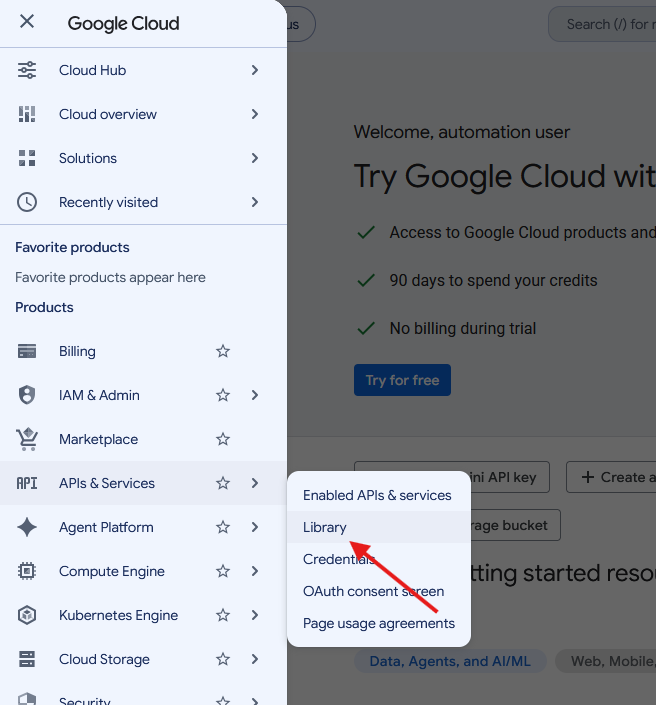
Then search for and enable:
- Google Drive API, if you will use the Google Drive provider
- Cloud Storage API, if you will use the Google Cloud Storage provider
Mail access using SMTP, IMAP, and POP3 does not require an API to be enabled.
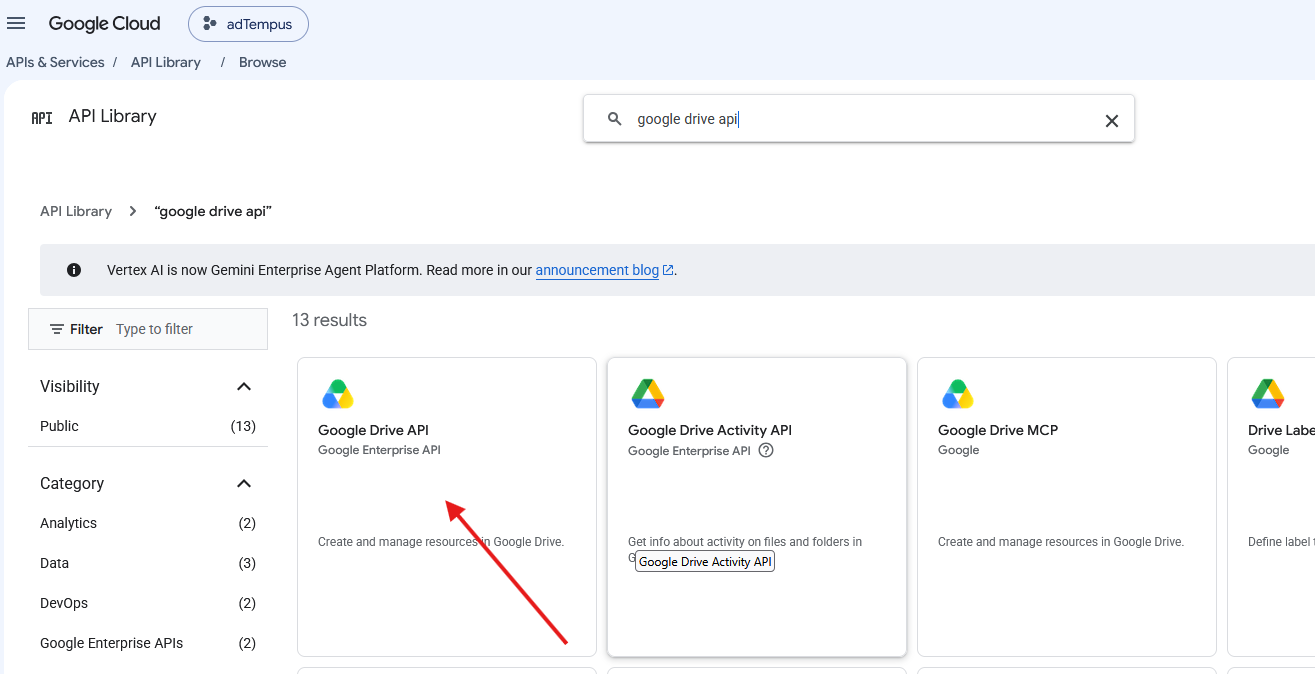
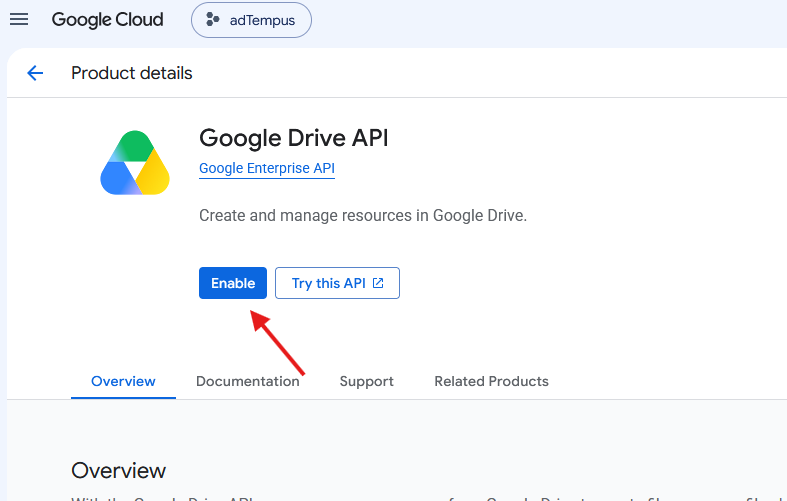
Step 3: Configure the consent screen
- Go to APIs & Services > OAuth consent screen) and click Get started.
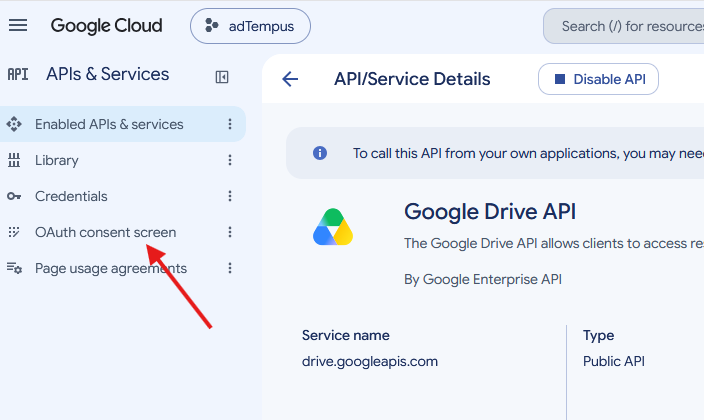
- Under App Information, enter an application name (for example, "adTempus") and a support email address. Users see this name when they authorize access.
- Under Audience, select the user type:
- Internal if you use Google Workspace and will authorize only accounts in your organization (recommended).
- External if you will authorize personal Gmail accounts, or accounts outside your Workspace organization.
- Enter a contact email address, agree to the user data policy, and click Create.
Step 4: Add the scopes
- Go to Data Access and click Add or remove scopes.
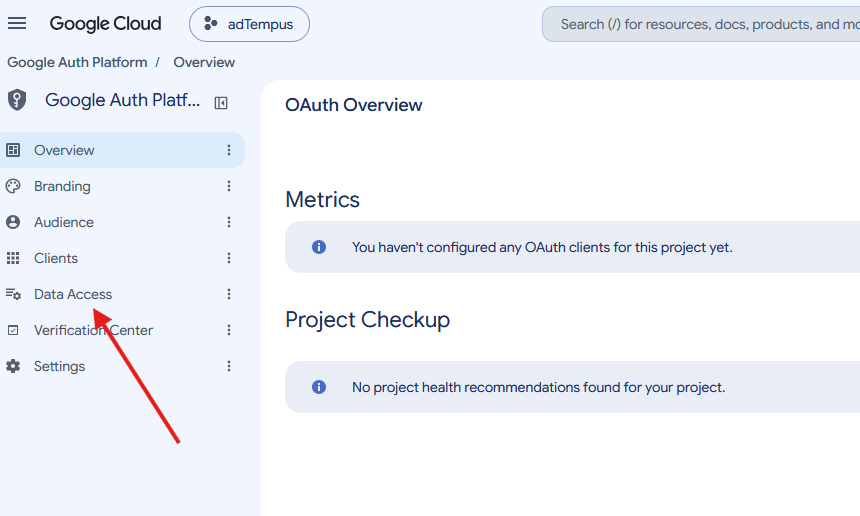
- Add the scopes for the services you will use. If a scope is not listed, enter it in the Manually add scopes box.
Service Scopes Mail (SMTP, IMAP, POP3) https://mail.google.com/
https://www.googleapis.com/auth/userinfo.emailGoogle Drive https://www.googleapis.com/auth/drive
https://www.googleapis.com/auth/userinfo.emailGoogle Cloud Storage https://www.googleapis.com/auth/devstorage.read_write
https://www.googleapis.com/auth/userinfo.email - Click Update, then Save.
Step 5: Set the publishing status (External user type only)
If you selected the External user type, go to Audience. The application starts in Testing status. Either:
- Under Test users, add each Google account you will authorize. Note that refresh tokens expire after 7 days while the application is in Testing status, so you will need to authorize again each week. This is suitable only for trying out the configuration.
- Click Publish app to change the status to In production. You do not need to submit the application for verification. When you authorize, Google will warn that the application has not been verified; click Advanced and then the option to continue to the application.
Step 6: Create the OAuth client
- Go to Clients and click Create client.
- For Application type, select Desktop app. You do not need to register a redirect URI for this application type.
- Enter a name for the client (for example, "adTempus") and click Create.
- Copy the Client ID and Client secret that are displayed. Store the secret securely. Google will not display the secret again after you close this window; if you lose it, you can add a new secret to the client.
Step 7: Configure adTempus
- For a mail server, open the SMTP Server Properties or Incoming E-Mail Provider Properties window, select OAuth for the Authentication Type, and click OAuth Configuration. Select the Google provider and enter the client ID and secret.
- For Google Drive or Google Cloud Storage, open the Cloud Storage Provider Properties window, click App Registration, and enter the client ID and secret.
Then click Authorize and sign in to the Google account that adTempus should access. When Google asks you to grant access, make sure all of the requested permissions are selected.
You can use the same registration for multiple mail servers and cloud storage providers, as long as it includes the scopes needed for each service.