Advanced Project Tutorial
This tutorial walks through creation of a more advanced Project than was created in the basic tutorial.
Scenario
We have a report that lists sales figures for a given date range. At the beginning of each day we need to:
- Run the report to produce a report of the previous day's sales in HTML format.
- Run the report with different parameters to produce a report of week-to-date sales, in PDF format.
- Send an e-mail message to various people, using the HTML report as the body of the e-mail message, and attaching the PDF report.
Steps
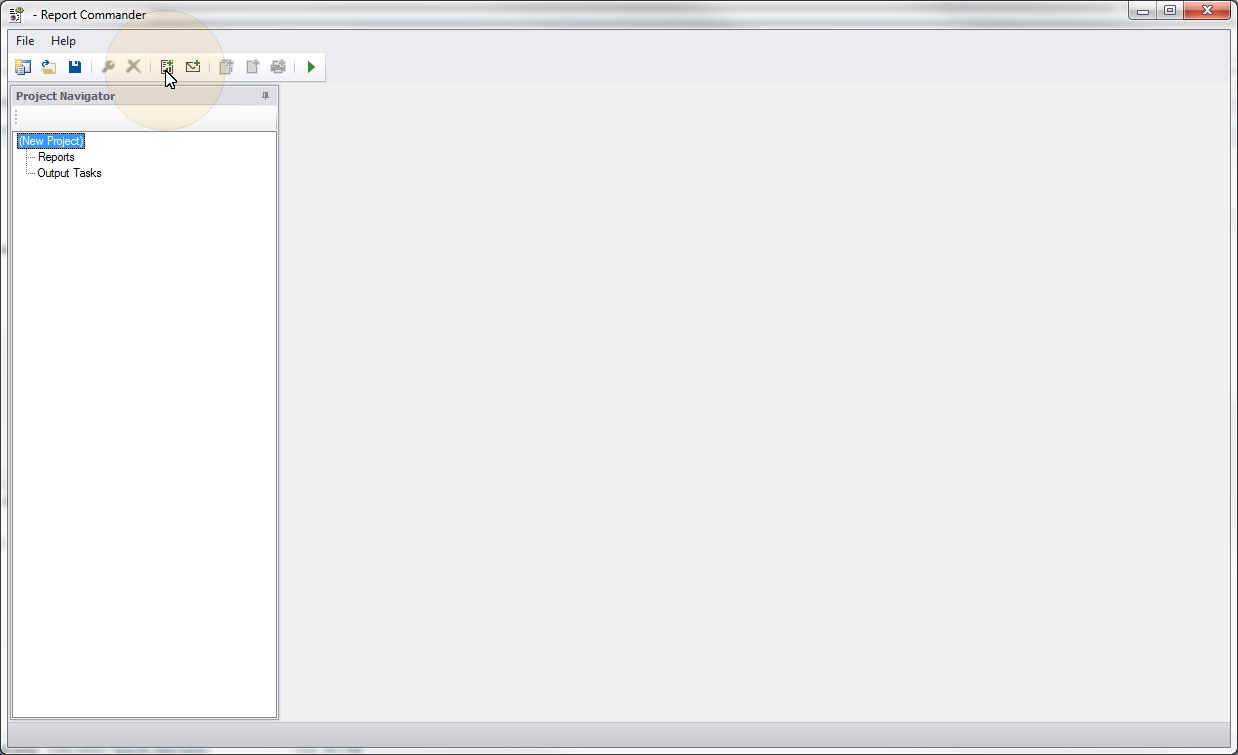
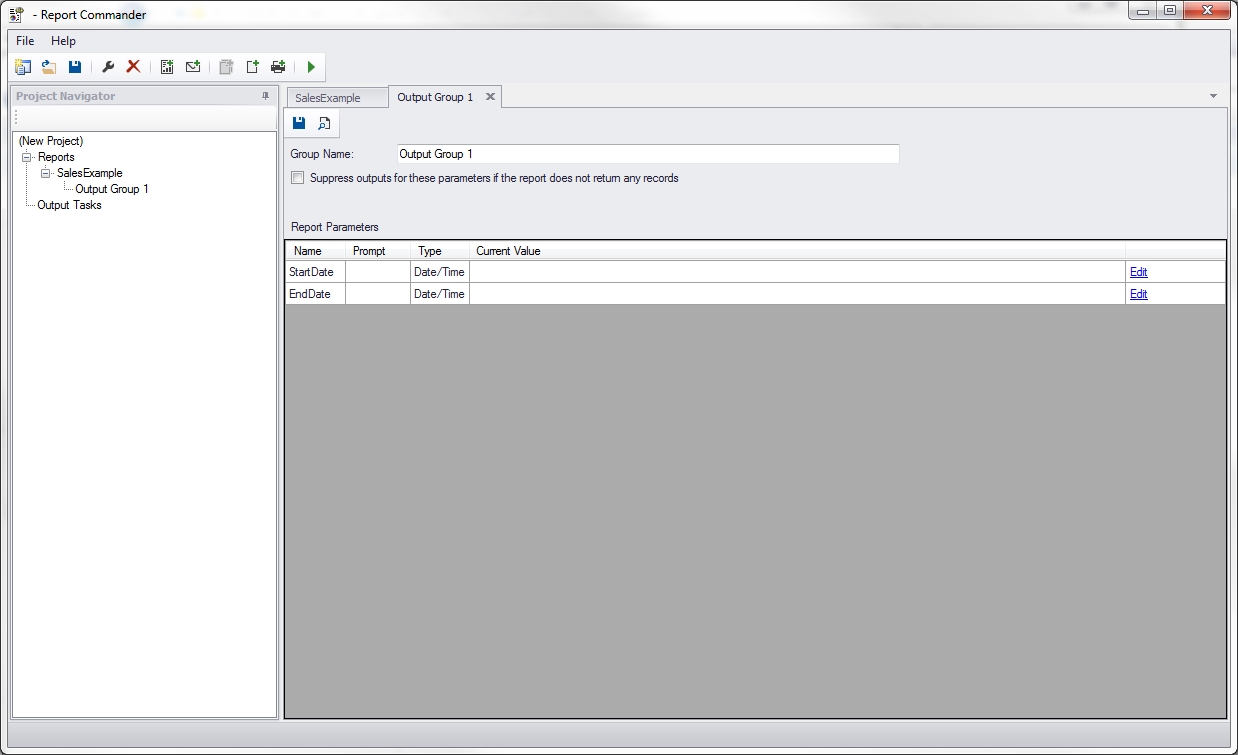
1. Start the Project Editor and it will show a new, empty project.
![]()
Add a report to the project
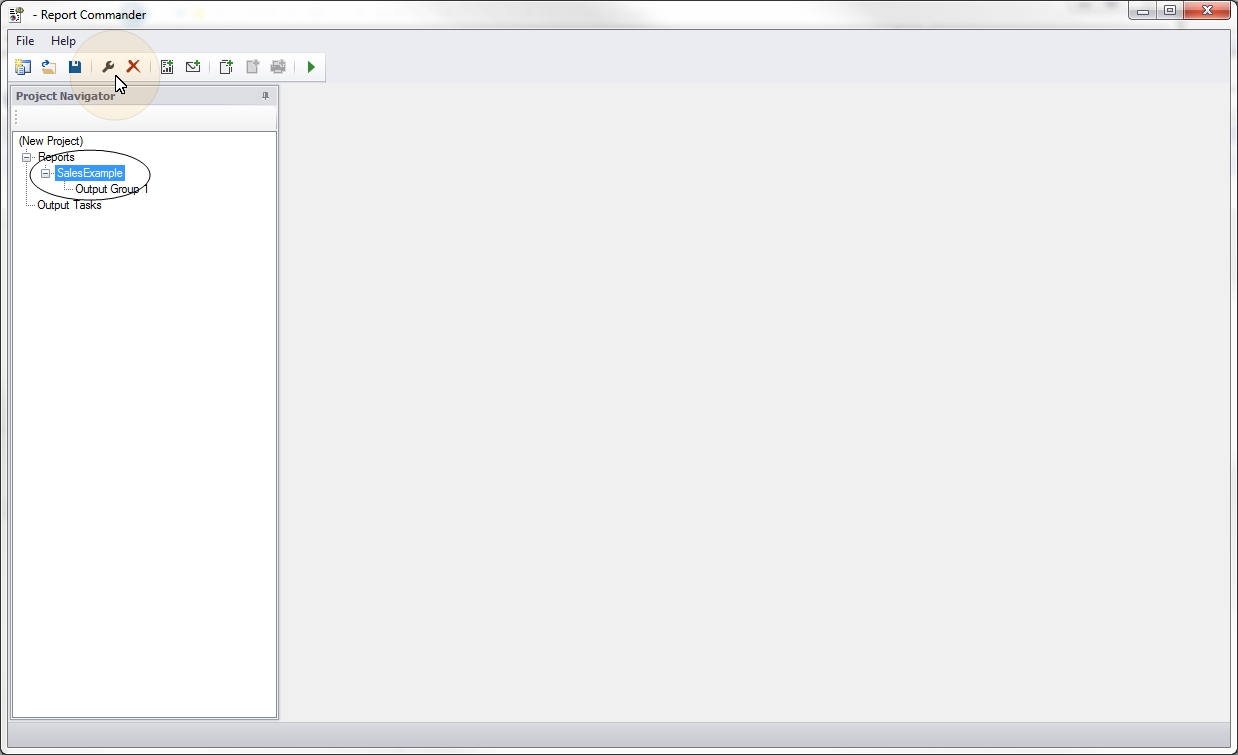
2. Click the Add Report button ( ) to add a report to the project. You can find the "SalesExample.rpt" report file in the Report Commander program folder. You can use the report file to follow this tutorial, but you won't be able to preview or export data since the report won't be connected to a database. Or you can follow along with a similar report of your own.
Set database logins
3. After the report is added, the first thing we need to do is set the database login information. To do this, select the report name in the Project Navigator and click the Properties ( ) button (or double-click the report name) to open the settings page for the report, then select the Data Sources tab.
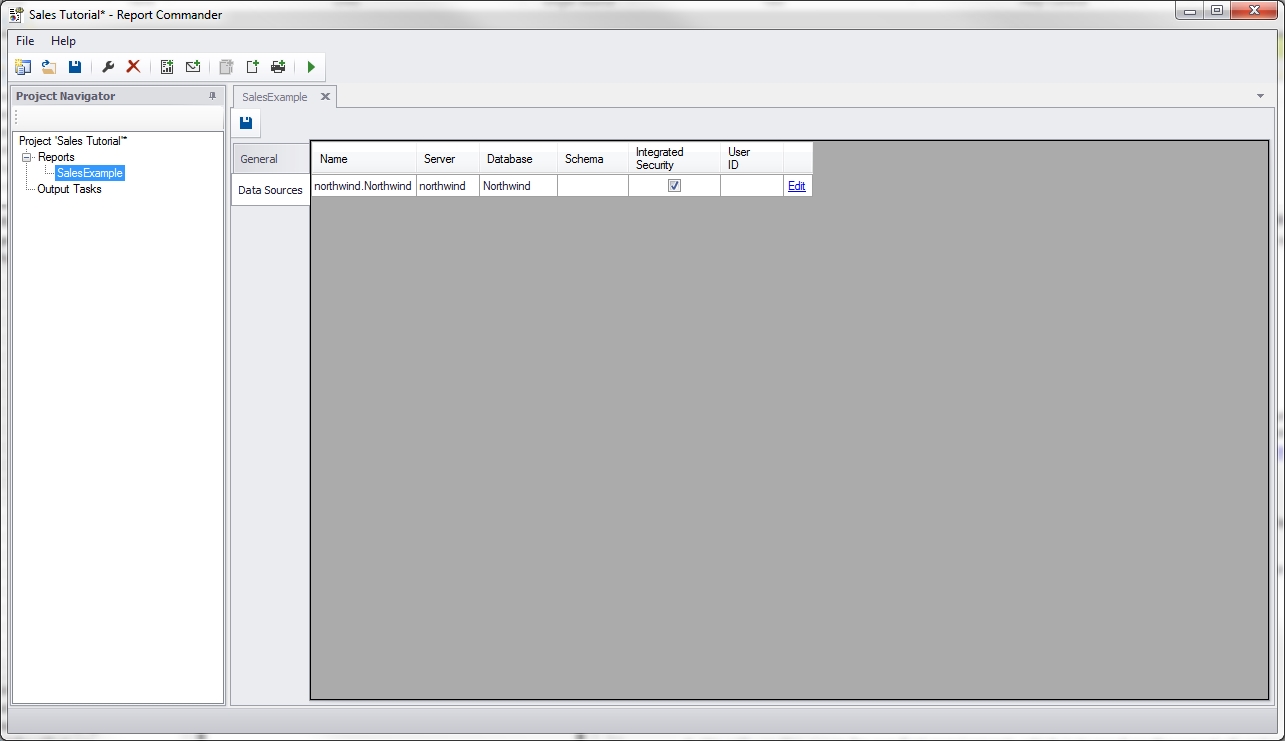
4. The Data Sources tab lists all of the database connections found in the report. This report is configured to use integrated security, but if you needed to run the report under explicit user credentials instead, or to point to a different database or server, you would click the Edit button for each connection to open the Data Source Properties window and supply the necessary information.
Configure Output Group with parameters for first export
5. Report Commander has automatically created the first Output Group for the report, called "Output Group 1." Each Output Group is a collection of Outputs that use the same parameters for the report.
Select "Output Group 1" in the Project Navigator and click the Properties () button (or double-click the group name) to open the settings page for the group.
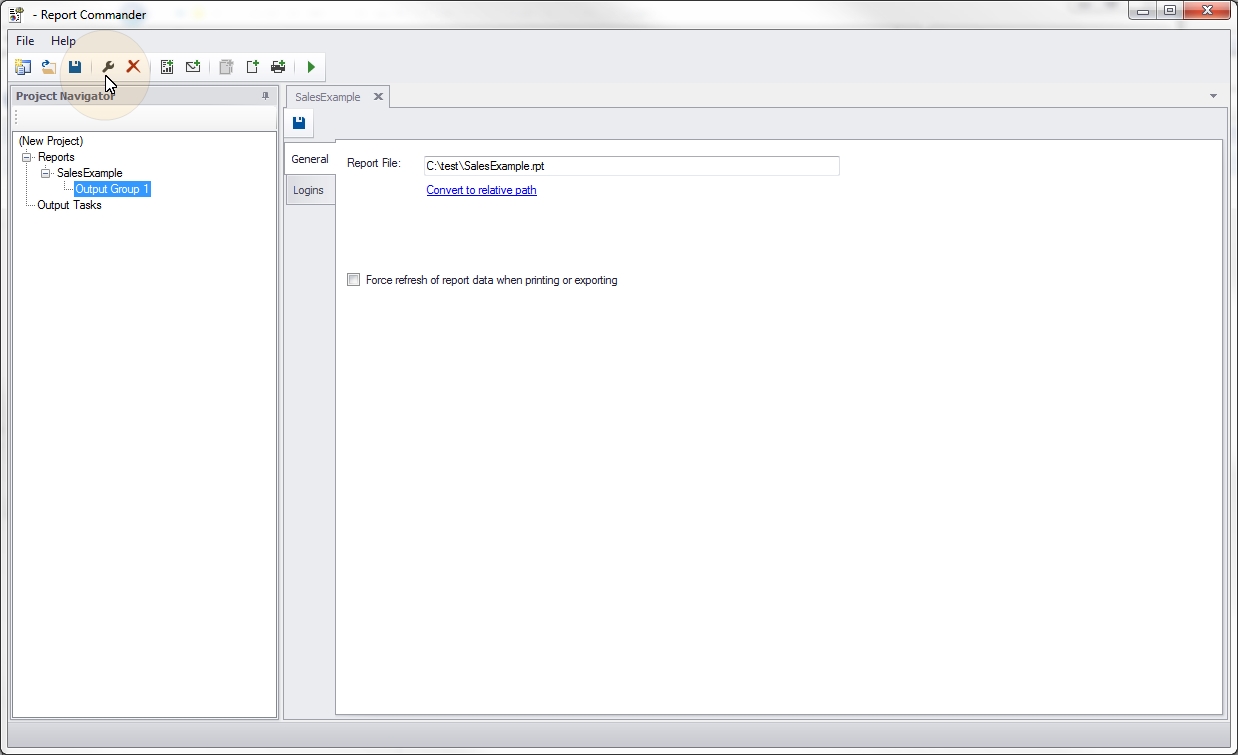
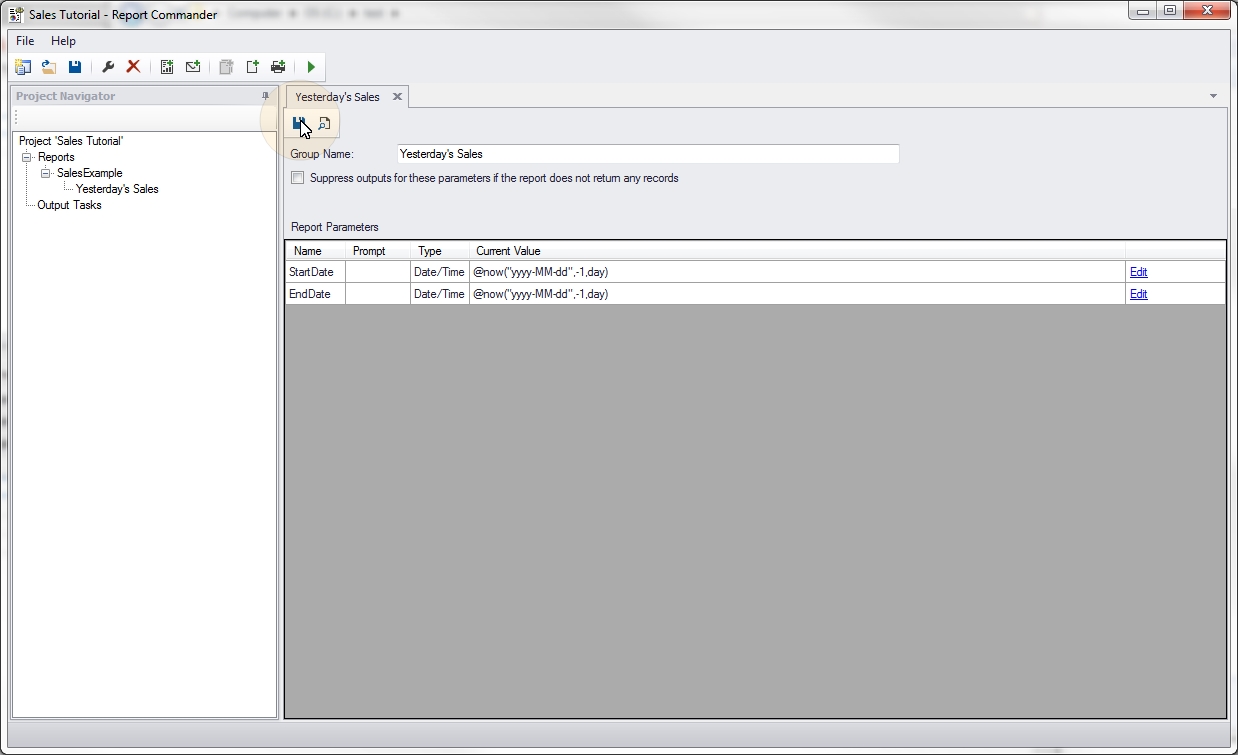
6. We will use this group for our first requirement, which is to produce the report of yesterday's sales. Change the Group Name to "Yesterday's Sales."
7. The report takes StartDate and EndDate parameters to tell it which dates to select records for. First click the Edit button next to the StartDate in the parameter list to open the Parameter Editor.

8. We don't want to have to update the project every day to give it the correct dates, so we will make use of functions to automatically insert the date when the report runs. Check the Use variable or functions box, then click the text editor button ({}) to open the Variables and Functions window, which will help us insert the correct function.
9. In the Variables and Functions window, go to the Date/Time tab. When we run the report, we want it to pull data for the previous day, so:
- Check the Offset the date/time by box
- Set the adjustment to -1.
- Make sure the adjustment type is Day.
- Click the Insert Function button (
 ) to add the function to the text edit window.

10. The top of the edit window now shows the function code:
@now("yyyy-MM-dd",-1,day)
and below that a preview of what the function call will be replaced with at runtime (the previous day's date).

11. While you're here, highlight the function code @now("yyyy-MM-dd",-1,day) and press CTRL-C to copy it to the clipboard. We'll use it again for the EndDate.
12. Click OK to return to the parameter editor, then OK again to return to the Output Group. The Current Value for the StartDate parameter will now show the function we just created.
13. Click Edit for the EndDate parameter to open the Parameter Editor. We're only running the report for one day, so the EndDate is the same as the StartDate. Check the Use variables or functions button and paste in the function code you copied while editing the StartDate. Then click OK to return to the Output Group, where both parameters are now set to use yesterday's date.
Click the Save button ( ) on the Output Group page to save the settings for this group.
14. At this point you can use the Preview button ( ) to preview the report with the specified parameters and database logins. (It won't work for this tutorial because there is no database for the report.)
Configure HTML export
15. Next we need to tell Report Commander how to export the report. With the "Yesterday's Sales" Output Group selected in the Project Navigator, click the Add File Output button ( ) to add a new File Output to the group.
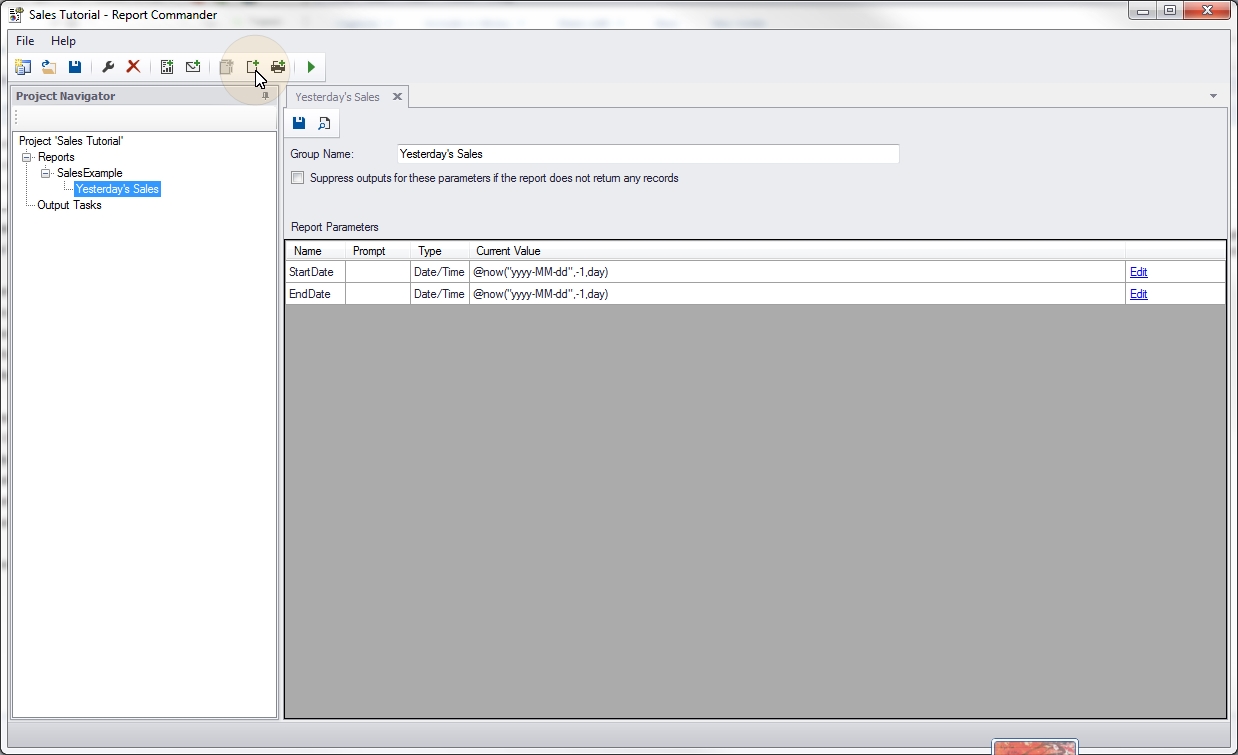
This will open a new File Output page.
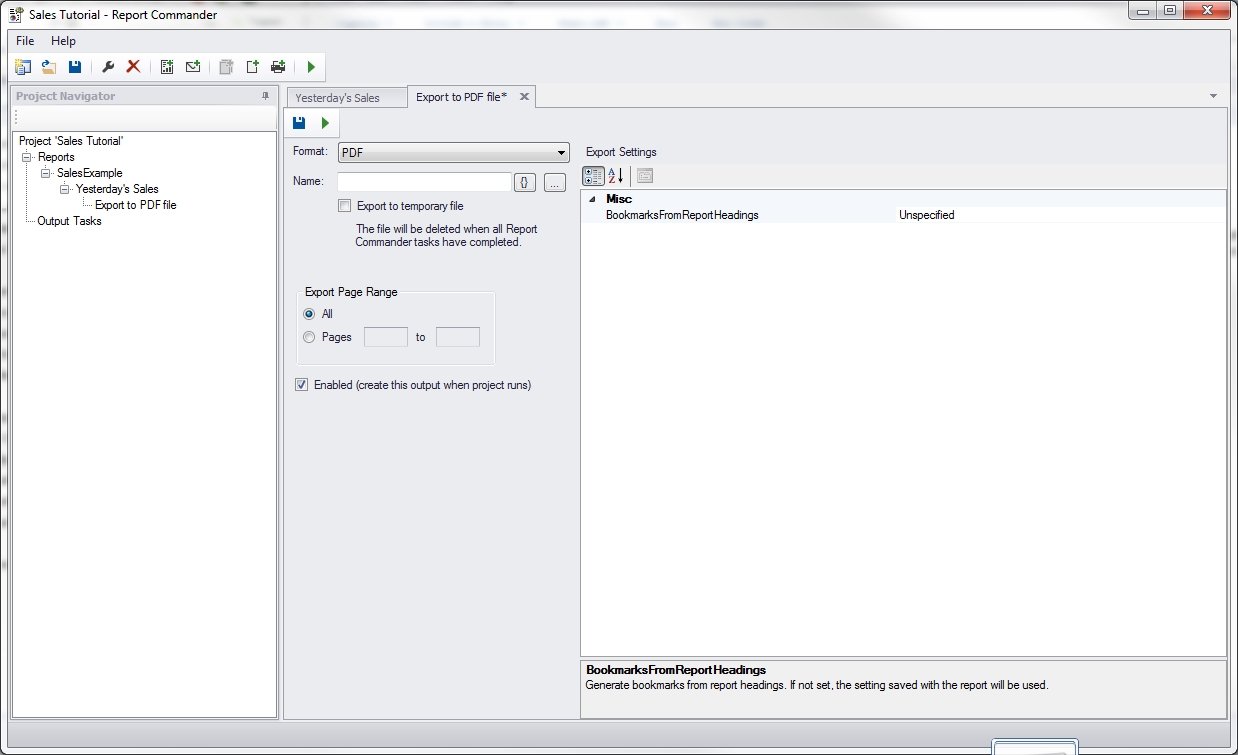
16. Change the Format to "HTML 4.0," set the Name to salesreport.htm, and check the Export to temporary file box.
In out scenario we're just e-mailing the export and not saving it for future use. So we use the Export to temporary file to tell Report Commander not to keep the export file after it has been e-mailed. We don't need to specify a folder for the export file, because it will get saved to a temporary location.

17. Click the Save button () on the File Output page to save the settings for this output. At this point you can use the Run button (![]() ) on the File Output page to test the export using the settings so far. (It won't work for this tutorial because there is no database for the report.)
) on the File Output page to test the export using the settings so far. (It won't work for this tutorial because there is no database for the report.)

Configure Output Group with parameters for second export
Now we need to export the report a second time, with different parameters and a different export format.
18. With the report selected in the Project Navigator, click the Add Output Group button ( ) to add a new Output Group.

19. This group will be used to export the report for the week to date, so change the Group Name to "This Week's Sales."
20. For this export we want to run the report for the week (defined as Monday through Sunday) that includes yesterday. To do this, edit the StartDate and EndDate parameters, check the Use variables or functions box, and set the values as follows:
- StartDate: @MostRecentDay(@DateAdd(,-1,"day"), "monday","yyyy-MM-dd")
- EndDate: @NextDay(@DateAdd(,-1,"day"), "sunday","yyyy-MM-dd")
This tutorial is already too long, so see the Function Examples topic for an explanation of these values. You can also define variables as shortcuts for complex function calls like this.
As before, you could use the Preview button () to preview the report with these parameters, to verify that it produces the expected output.
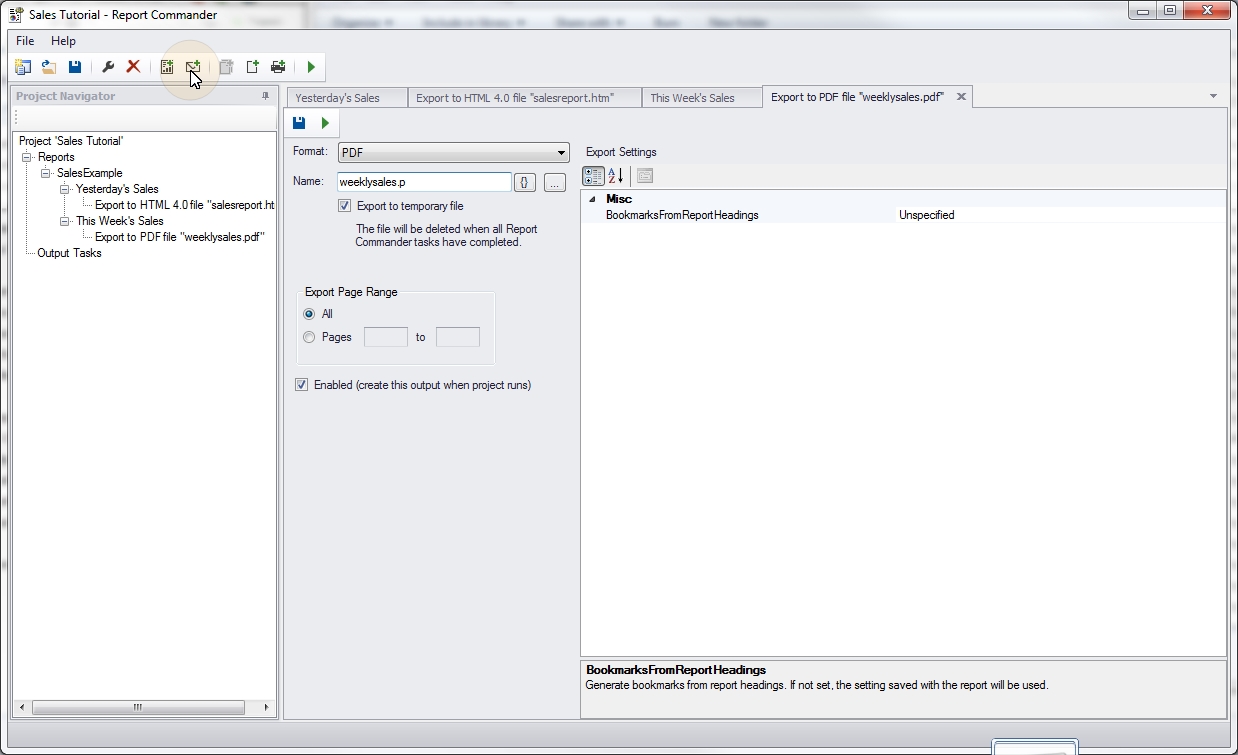
Configure PDF export
21. Now we need to export "This Week's Sales" to PDF. Select the "This Week's Sales" Output Group in the Project Navigator and click the Add File Output button () to add a new File Output to the group.
22. Select "PDF" as the Format, set the name to weeklysales.pdf and check the Export to temporary file box. Then click Save () on the File Output page to save the output.
Your project should now look like this:

Configure e-mail message
Next we will create the e-mail message to deliver the two exports we have created.
23. Click the Add E-Mail Task button ( ) to add a new E-Mail Task to the Project.
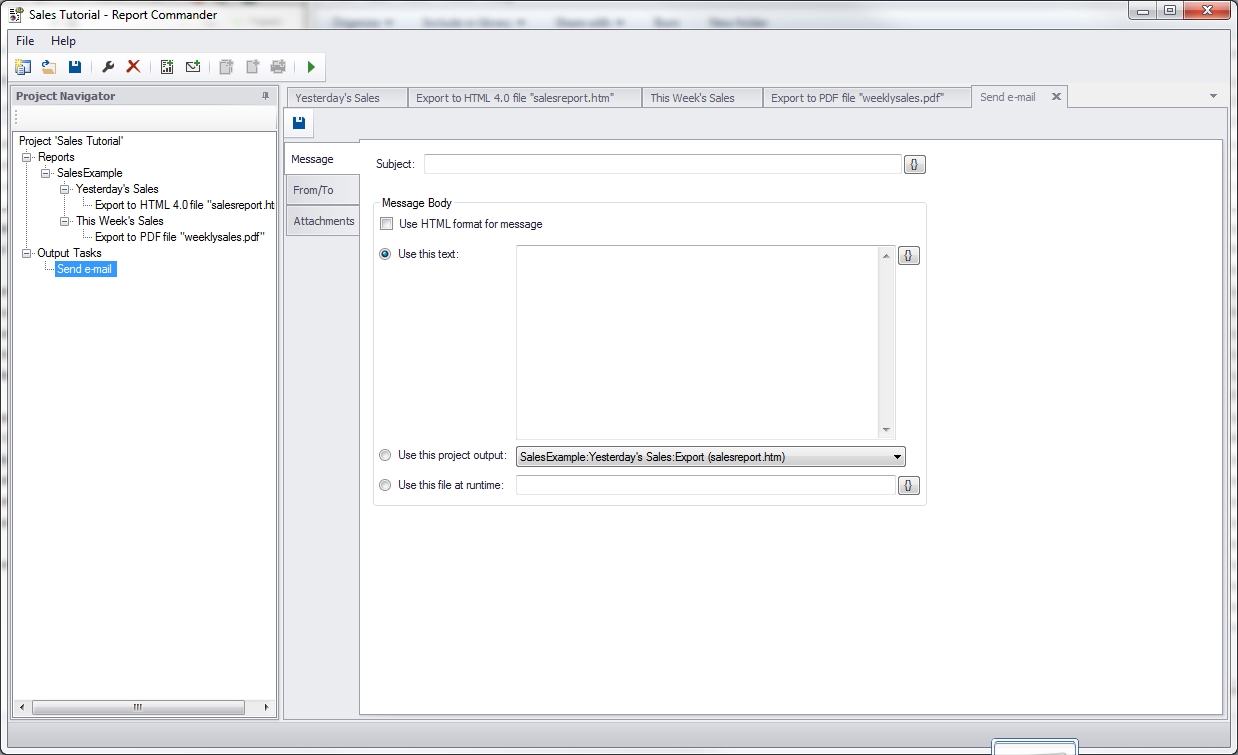
24. On the Message tab, configure the message settings as follows:
- Subject: Sales report for @now("MMMM d, yyyy",-1,day). This will insert yesterday's date in the subject.
- Message Body
- Check Use HTML format for message.
- Check Use this project output and select "Yesterday's Sales Export." This will use the report as the body of the e-mail message.

25. On the Attachments tab, under Include the output files from these exports, check the box next to "This Week's Sales." This will attach the exported PDF to the message.

26. On the From/To tab, add one or more recipients to the To list for the message.

27. If you have not already configured a mail server for Report Commander to use, click the mail server settings link to open the e-mail settings for the Project, where you can do this.
Save and test the Project
28. If you haven't already done so, click the Save Project button () on the top toolbar to save the project. Give it the name "sales tutorial" and save it to a convenient location.

29. You can test the entire project by clicking the Run Project (![]() ) button on the top toolbar. This will run the entire project, creating both export files and sending the e-mail message, and will show you any problems encountered.
) button on the top toolbar. This will run the entire project, creating both export files and sending the e-mail message, and will show you any problems encountered.
Schedule the Project
The Run Project button lets you run the Project from within the Project Editor, but once you've finished building the project you probably want to run it automatically. Report Commander doesn't have a built-in scheduler, but you can easily schedule the project using your favorite scheduling or automation tool.
On the Help menu, select the How to execute project... link and Report Commander will show you the command you need to have your automation tool run to execute this project.